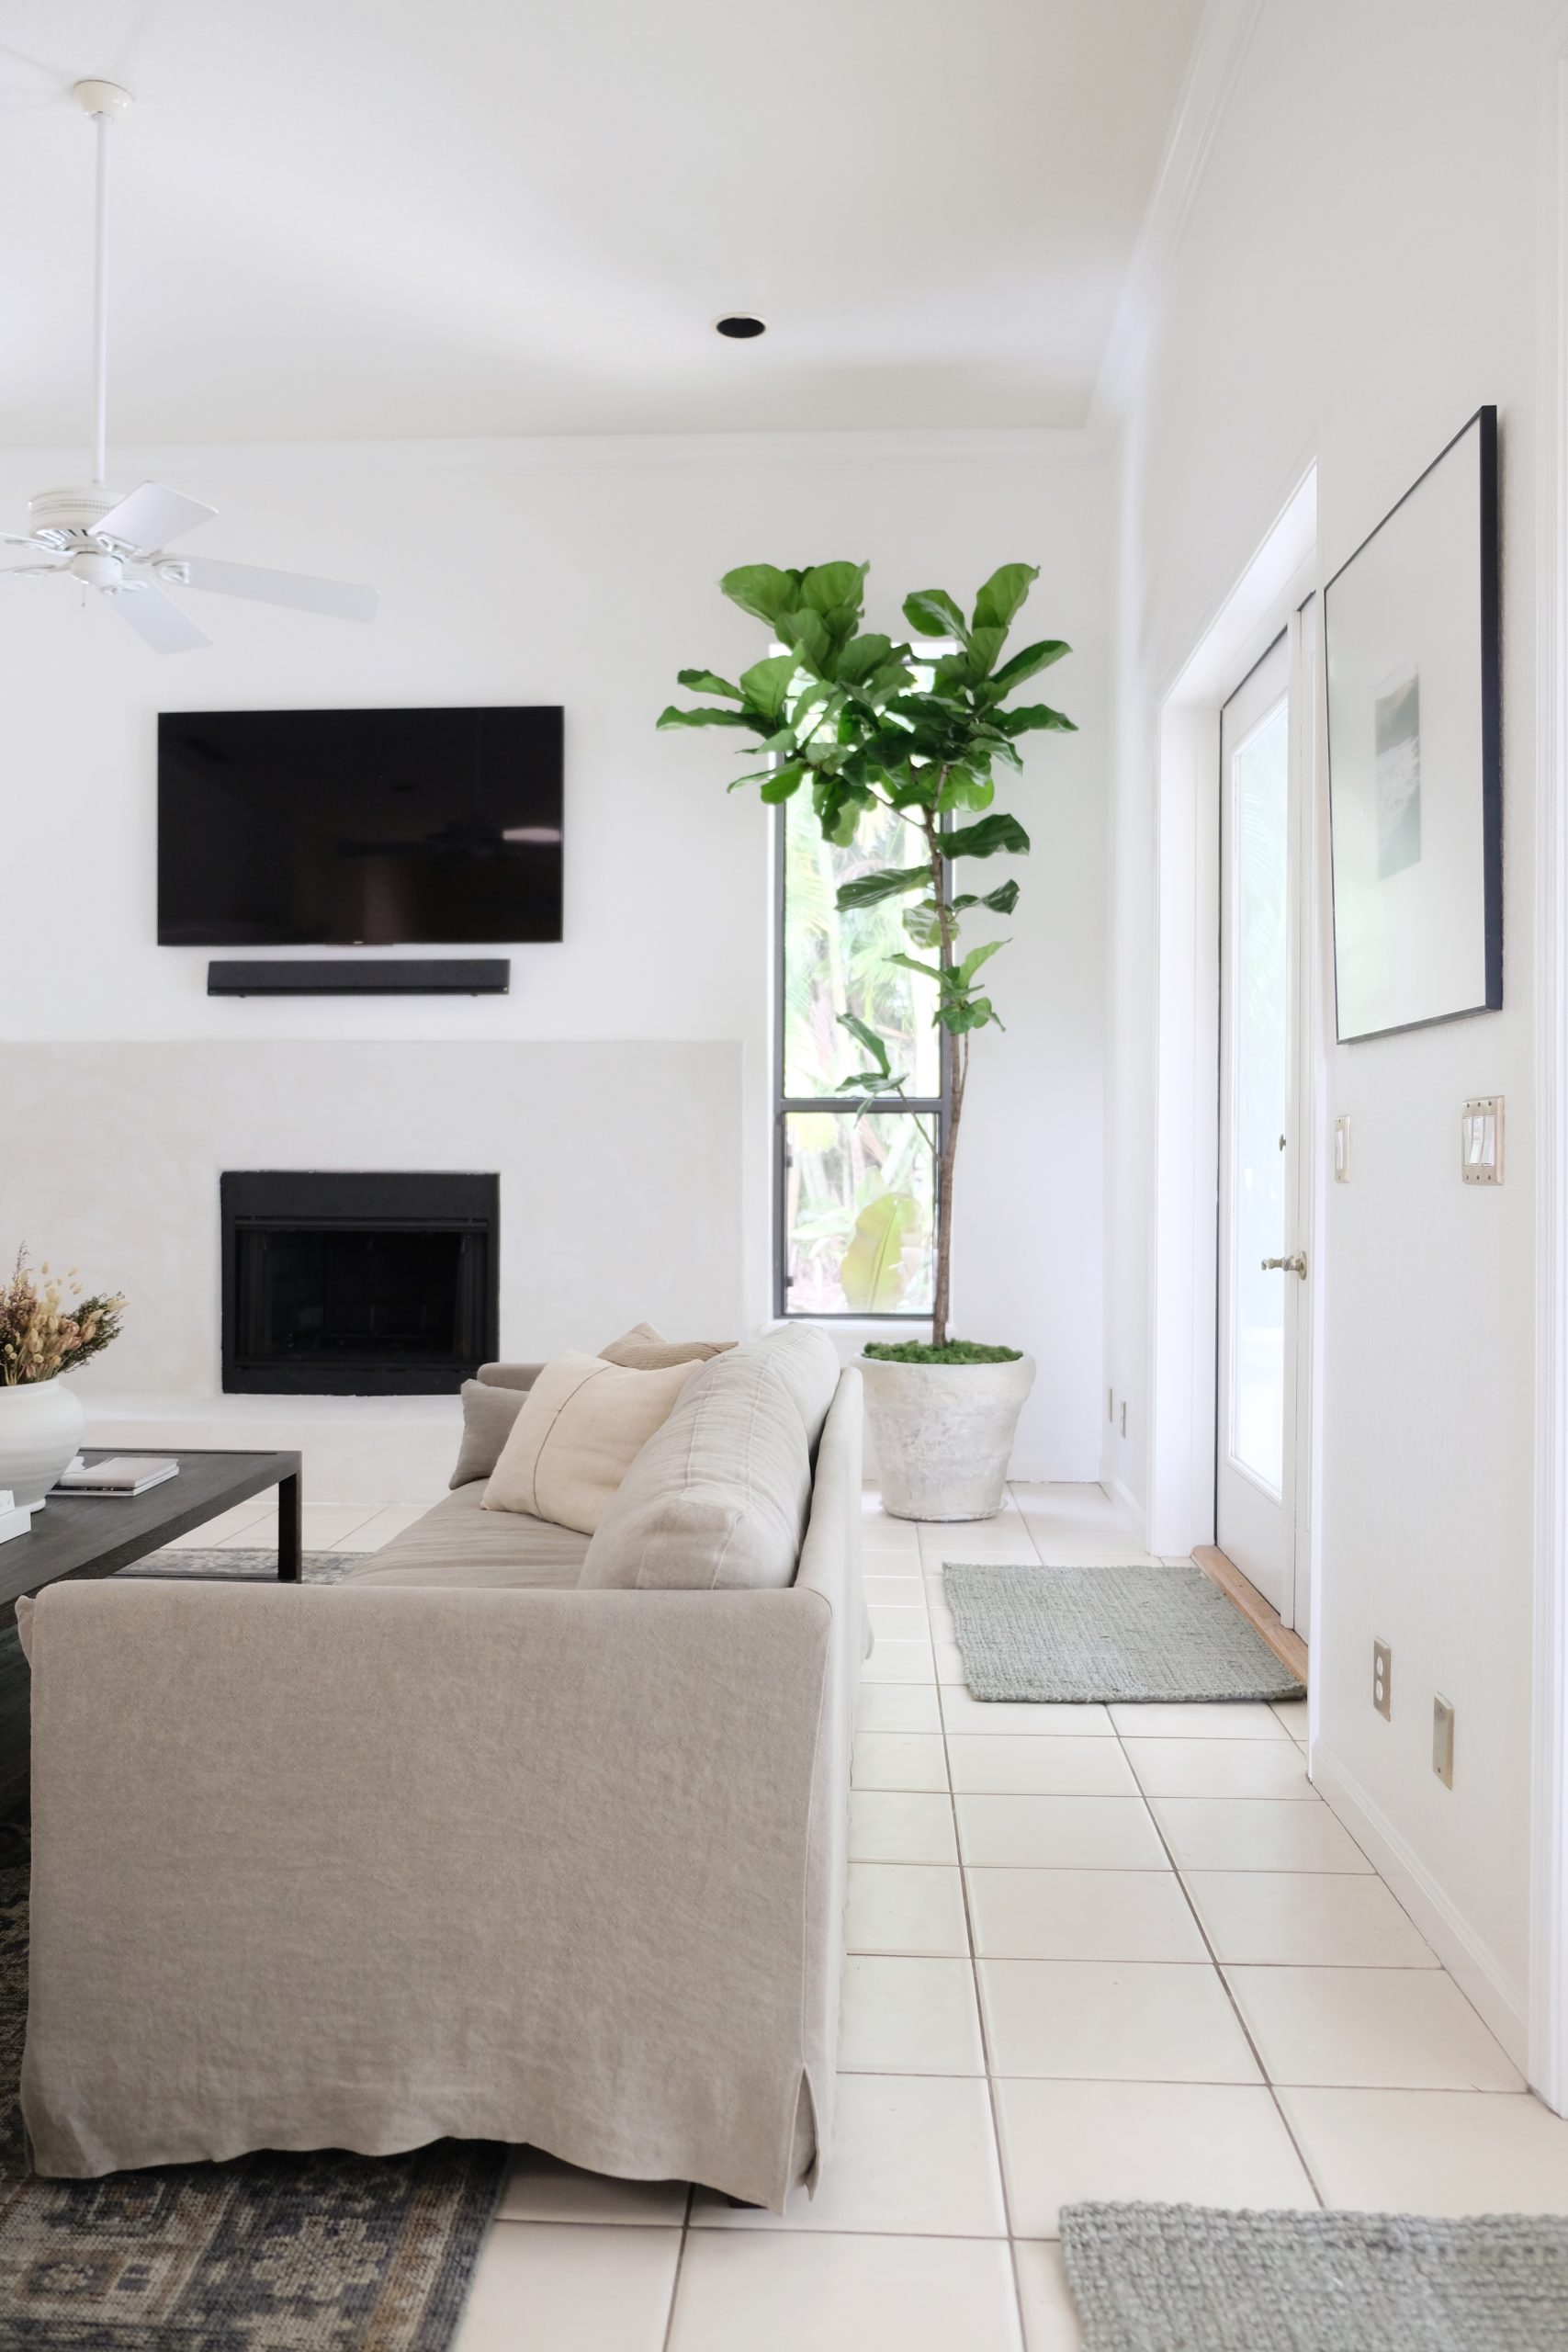
Cost & Materials
- Planter (I got this one here) – $49
- 2 boxes Plaster of paris (here) – $14
- Lime Wash Paint (I purchased 6 sample jars here) – $77
- 5 Gallon Bucket – $3
- Foam Brushes (here) – $6
- Sandpaper or Sanding Block (here) – $5
- Plastic putty knife (having multiple sizes is useful – here) – $3
- Cardboard or tarp (to work on)
- Paint Stir Stick
Total Cost: $158*
*You can certainly purchase a smaller pot or one made of less expensive material. You can also use hardware store chalk paint instead of lime wash for more cost savings. Either way, real stone pots will run you 100’s if not 1,000’s of dollars, so this still seemed like a bargain!
Choosing a Pot
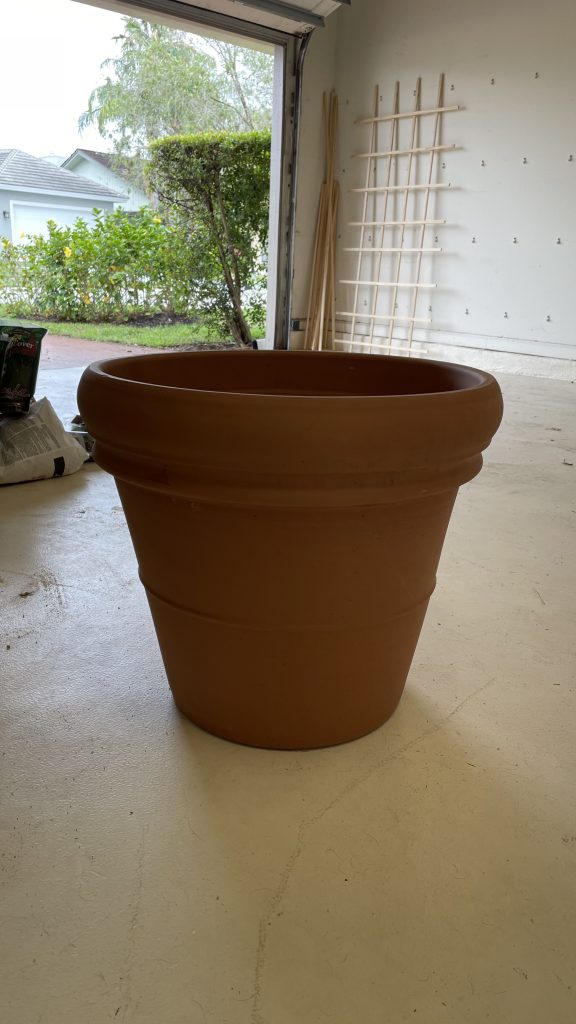
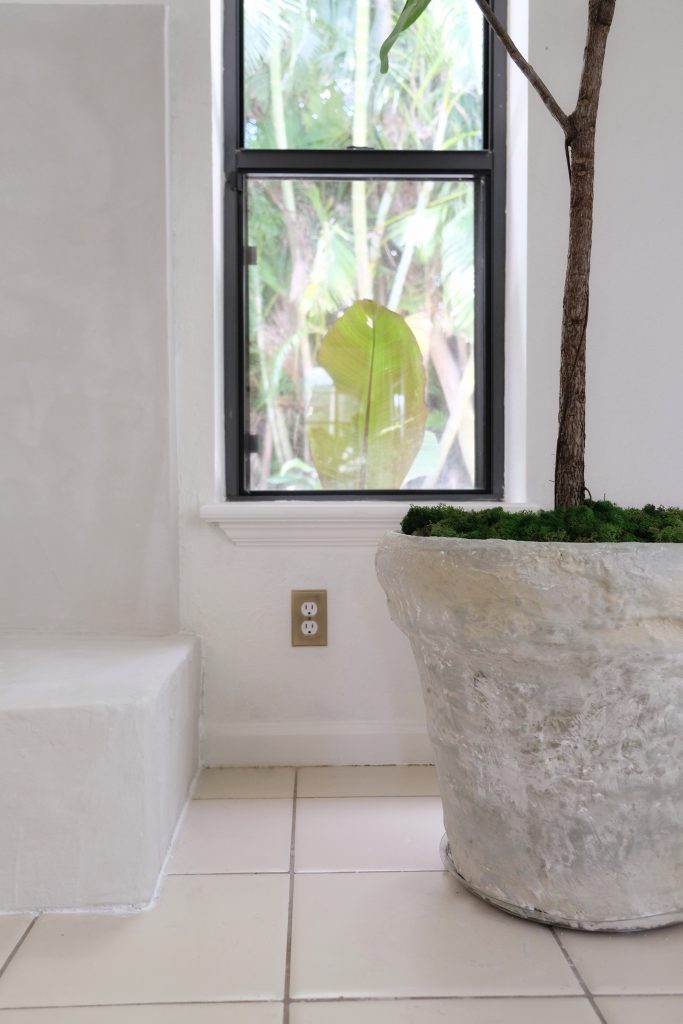
Plaster of Paris will adhere to non-porous surfaces but I’d recommend choosing something like terracotta for best results. I chose this huge $49 pot [here] – it’s substantial size and thickness will help the final result look more like heavy stone.
Choosing your Colors
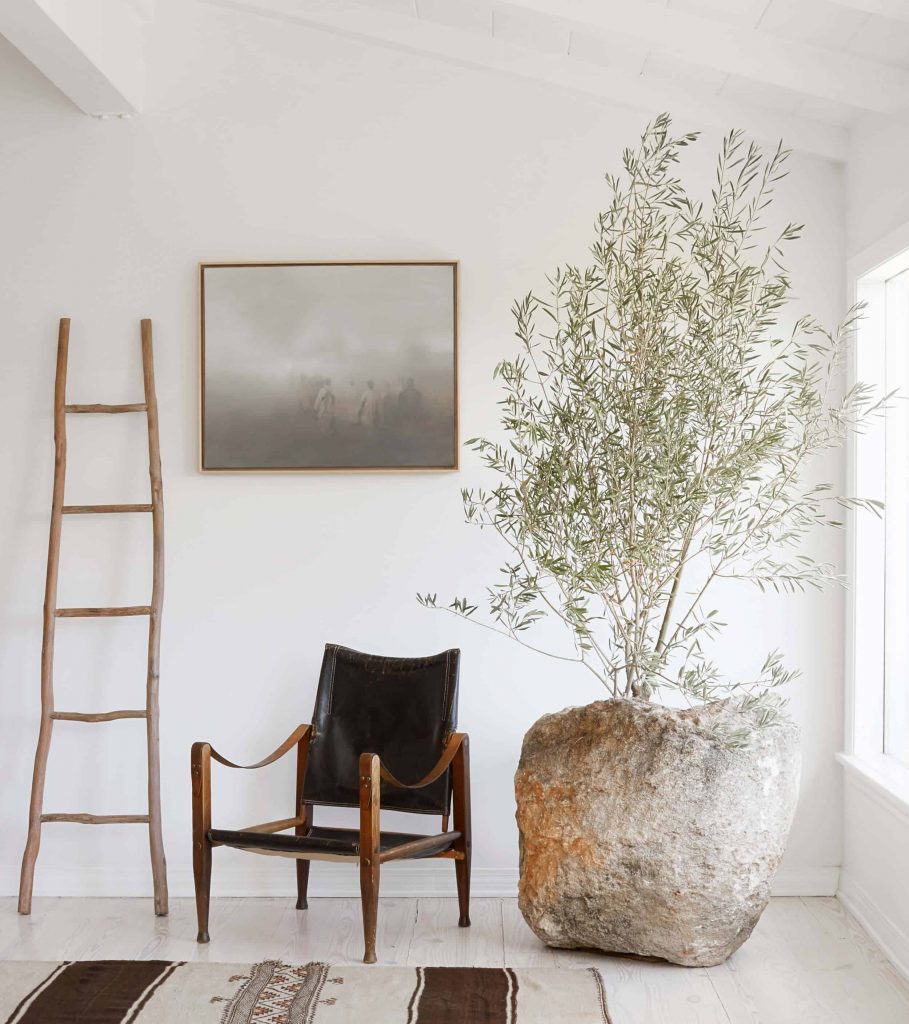
I used the image below as my inspiration for painting my pot. I ordered small sample pots from Portola in the following colors:
- 3 jars Runaway
- 1 jar Bistrot
- 1 jar Half Moon Bay
- 1 jar Half Life
Plastering your Pot
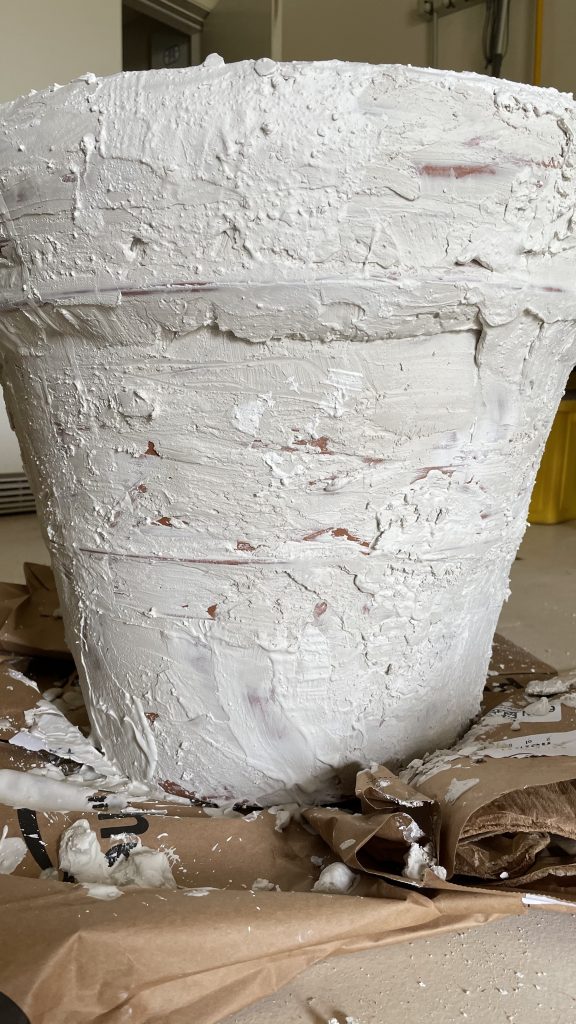
I found plaster to be rather difficult to work with so give yourself a little slack if you’ve never worked with it before. It’s finicky, but also hard to mess up since we’re going for an organic look. Since you’ll be working with powdered plaster, you’ll want to do this outside where you get plenty of ventilation. Be sure to wear a mask and goggles when pouring it! I covered a large area of our garage floor with cardboard and set my pot on it. You’ll want to work in small batches of plaster since it dries very quickly. Don’t mix more than you can apply in about 8-10 minutes.
For my first layer of plaster, I applied it with plastic putty knives. I was very generous with the plaster because I wanted to cover and soften the rim detailing on the pot. I let this layer dry completely and then sanded down any noticeable edges or bumps. Plaster is very soft, so you don’t need a very course grit.
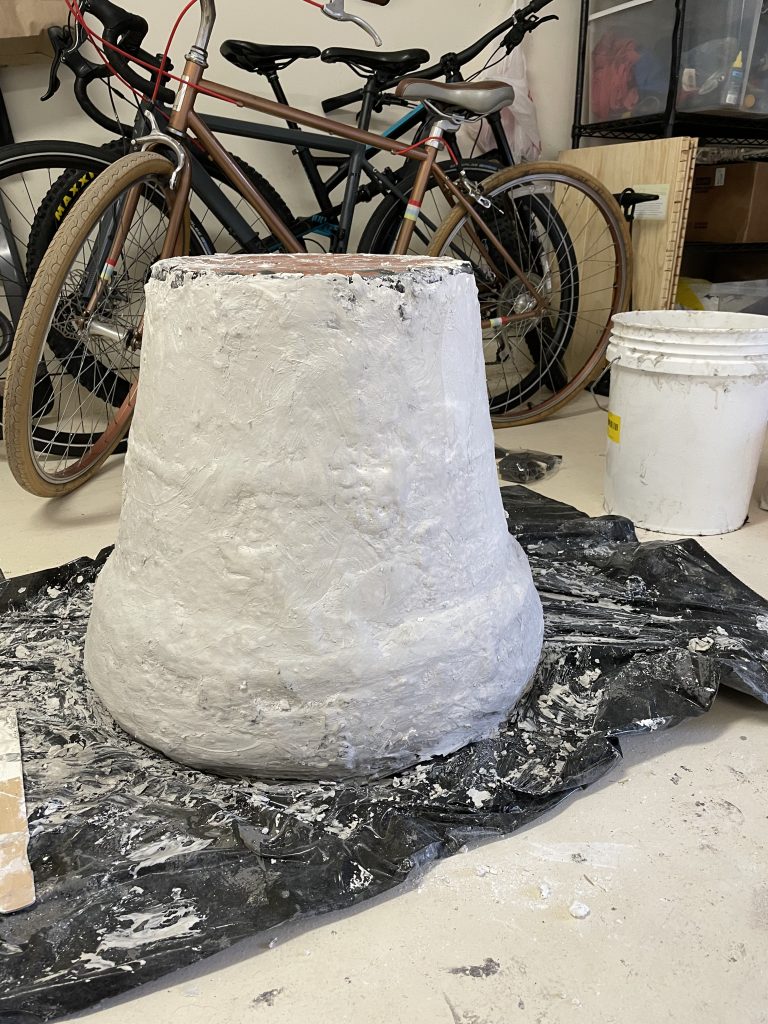
Next, I mixed up a runny batch of plaster by adding more water than I did for the first layer. I turned my pot upside down and slowly (very slowly!) poured the plaster over the pot, avoiding getting it on the base. This step probably isn’t necessary but in my opinion, it really helped soften all of the bumps and ridges, giving the pot that “been around forever” look. Give your pot at least 24 hours to harden before painting it.
Painting your Pot
I used Runaway as a base and then dabbed on Bistrot and Half Moon Bay around the top and bottom to replicate the weathered look. To soften the transitions between colors, you’ll want to do several layers of paint using different brush sizes. I also started mixing my paint colors after my first layer so that there was additional variation that would soften the transitions. I added some drops of Half Life here and there to create some darker spots. There is no right or wrong way to do this. Get creative! Once you’re done with your second layer, give the pot several hours to dry completely. Lime wash dries up to 10x lighter than it looks in the jar so you’ll want to assess your work when it’s dry. Then, you can easily determine which spots need a little fixing.
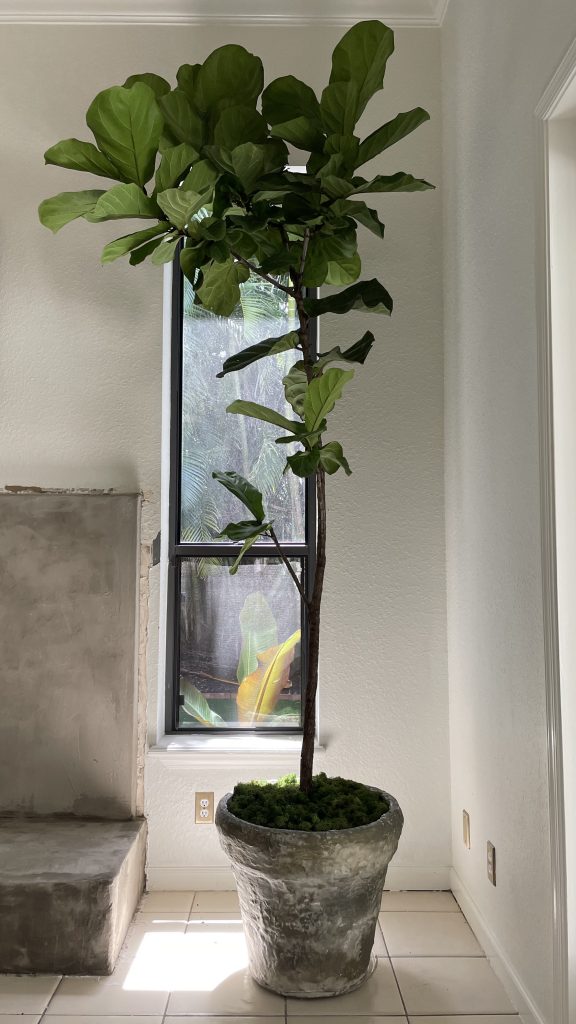
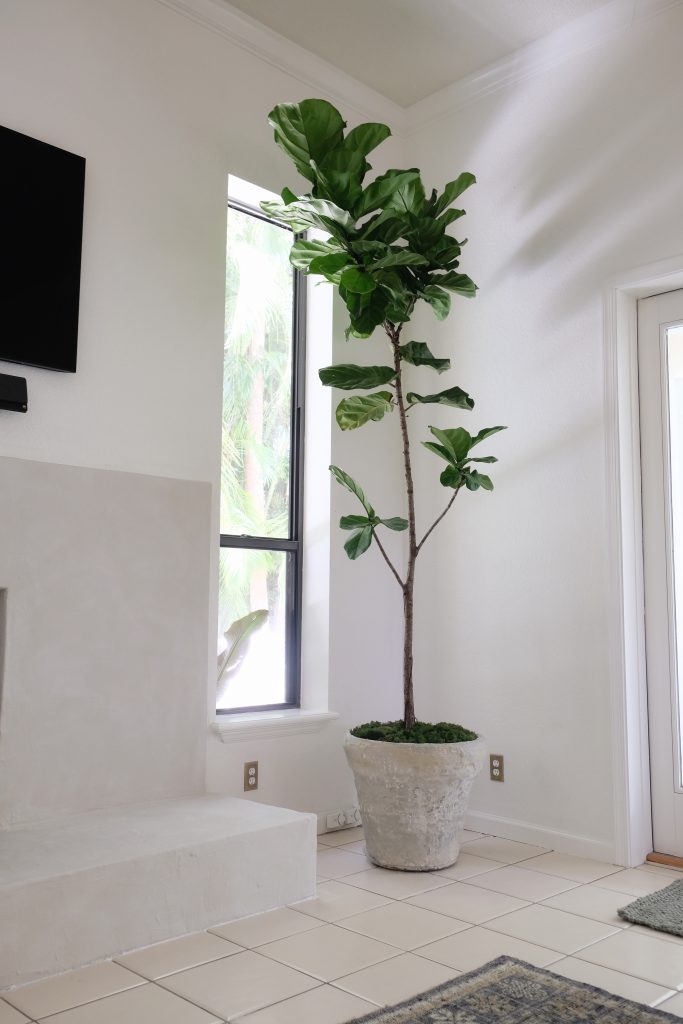
Next time, I’d probably mix in a bit more Bistrot and Half Moon Bay for a darker look. I’m also considering distressing it with a wire brush. I’ll update this post if I make any changes, but overall, I like it! I purchased 5 bags of Reindeer Moss (here) to cover my soil and give everything a more finished look. I love the contrast of the green against the planter!

Looking for more? Subscribe below for my FREE Guide to Decorating
Related Posts
Easy Fireplace Update with Lime Wash
Our brown, dated stone fireplace was really weighing down our family room. To give it…
January 25, 2021© 2020 gold coast canvas. all rights reserved.


Leave A Comment