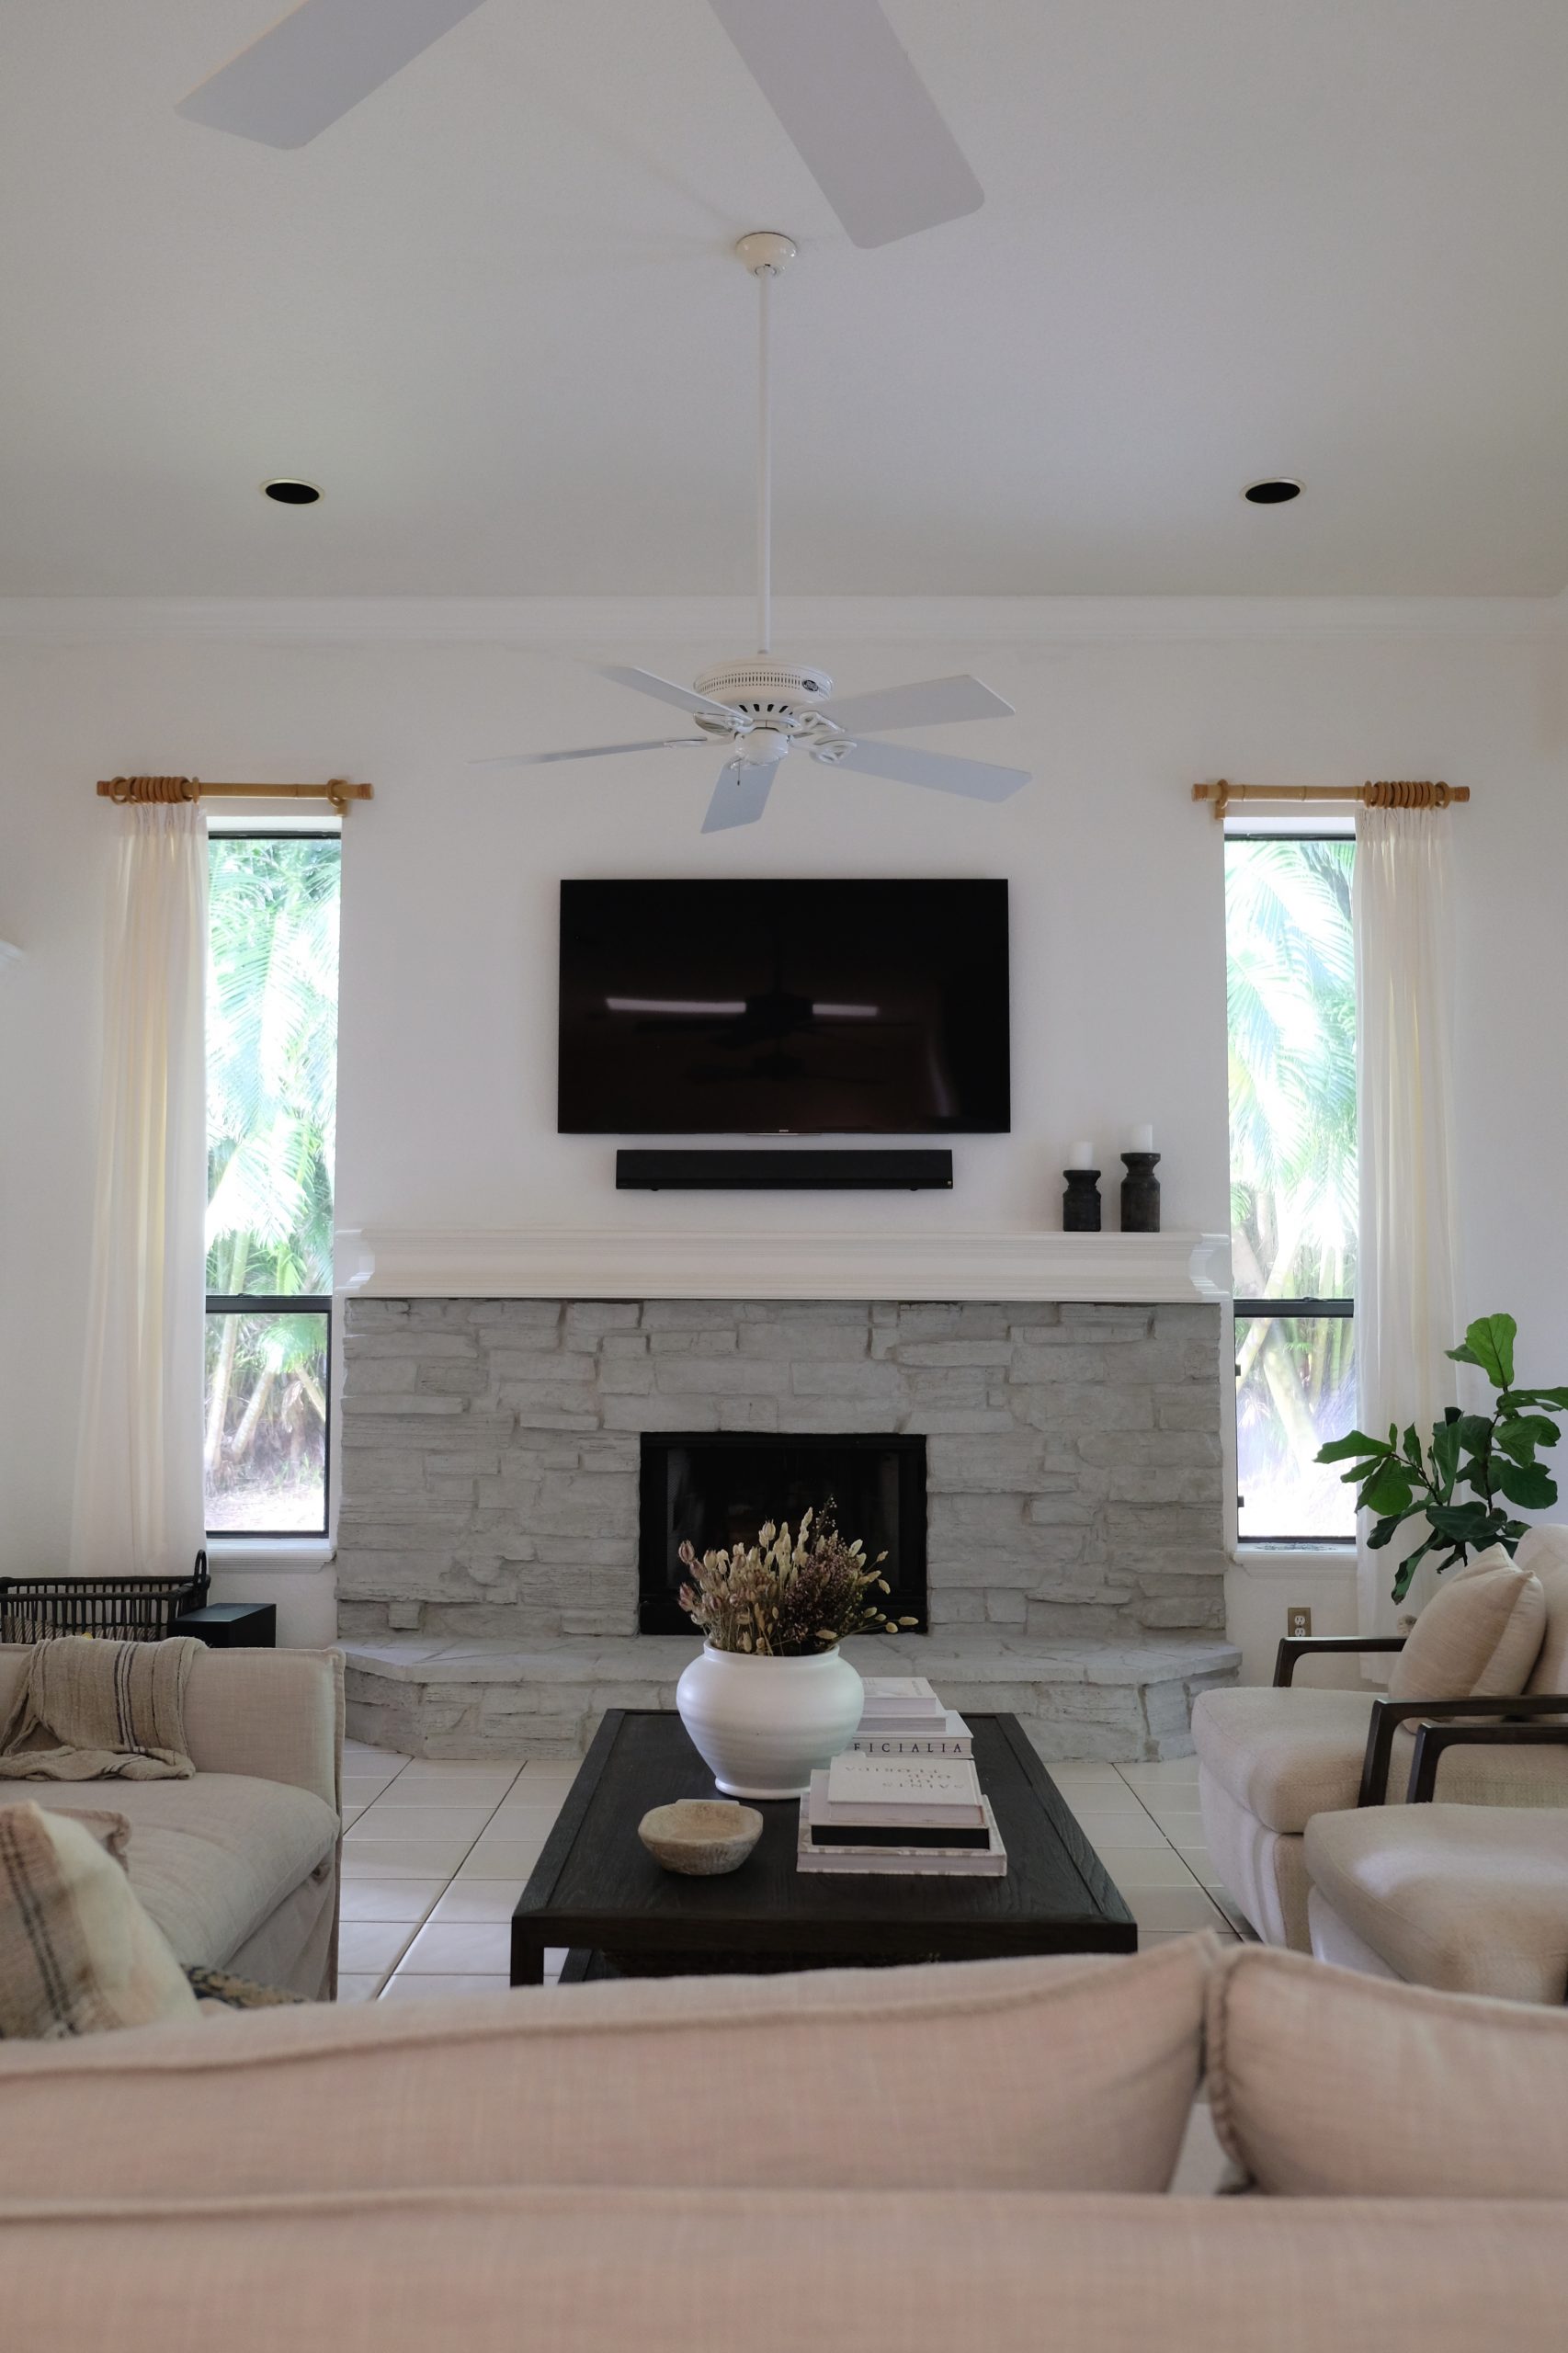
A few weeks ago I revealed our Living Room Refresh plans which laid out everything we were going to do in Phase 1 of the renovation. While later phases include hardwood floors, new windows and steel french doors, Phase 1 called for simple budget-friendly fixes like painting our outdated fireplace. While I still haven’t decided what the heck I’m going to do about that mantle, I didn’t want to wait any longer to tell you all about the Lime Wash!
What is Lime Wash?
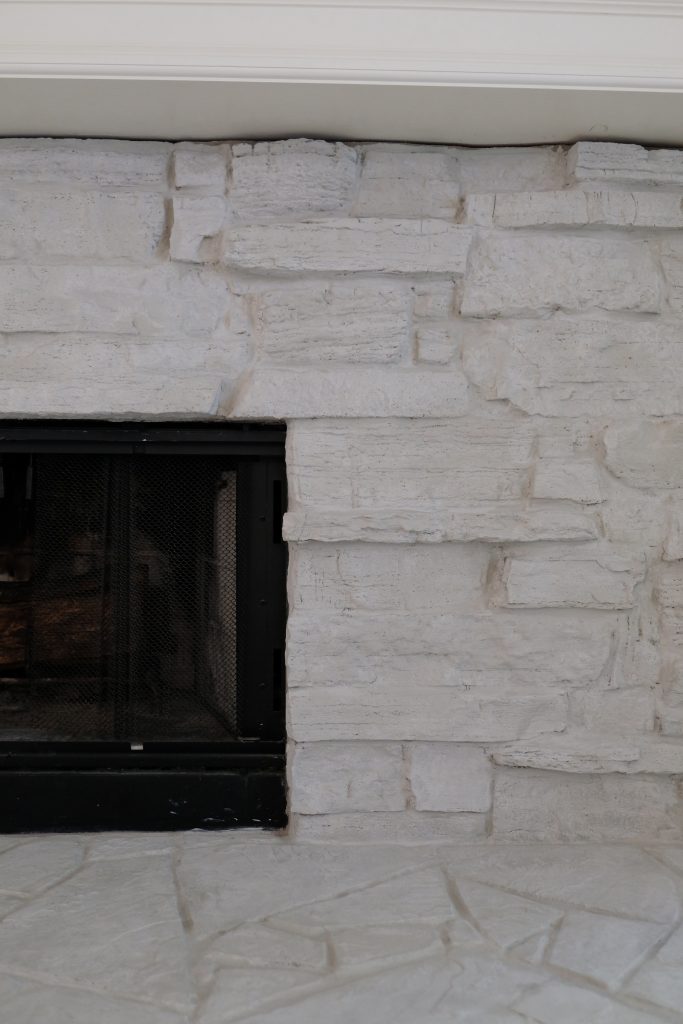
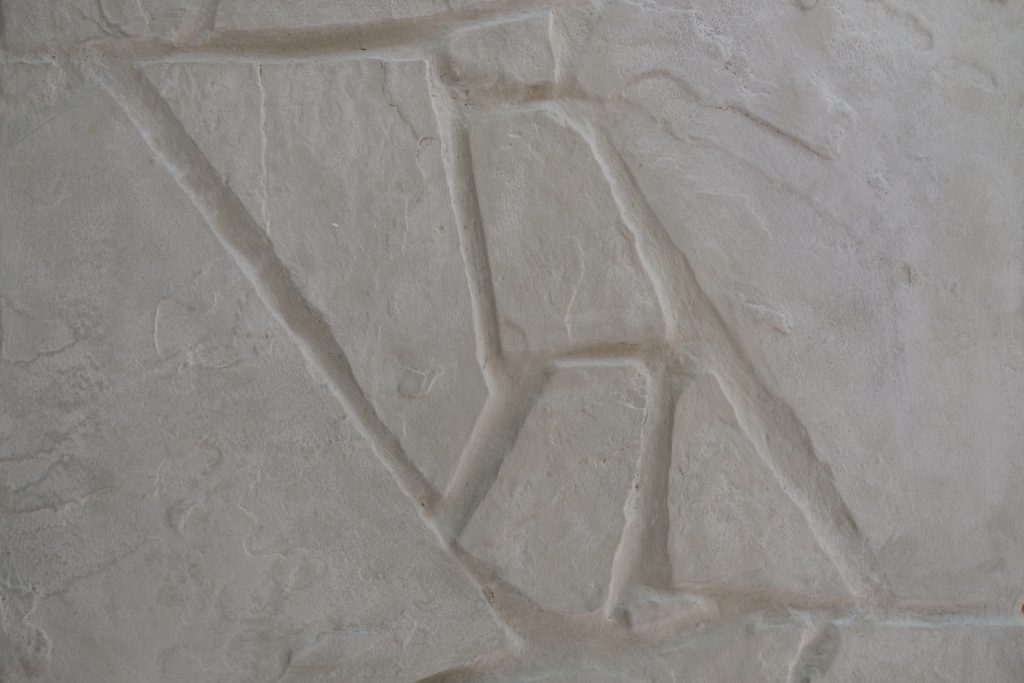
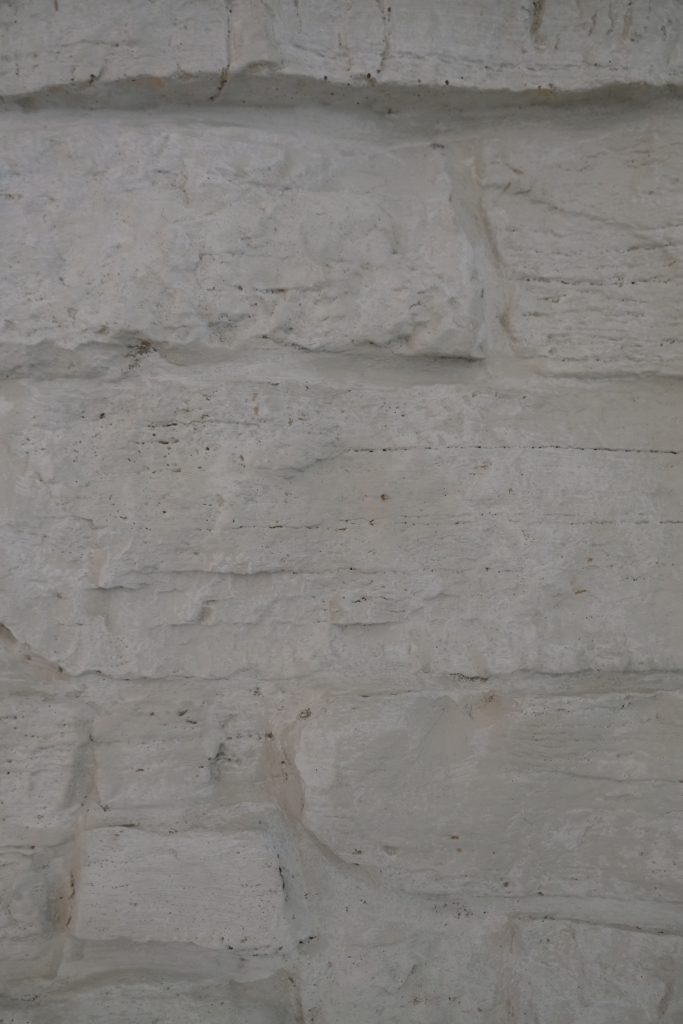
Lime Wash is an all-natural paint made from crushed limestone powder and mixed with water and pigment. It’s actually one of the oldest forms of paint! It has a stone texture to it once dry and will naturally patina over time, making it perfect for historic homes or spaces that call for a more organic vibe. Because of it’s absorbent qualities and high PH levels, it’s also said to be hypoallergenic and air purifying. It’s really such an underrated design tool but my guess is that it’s making a comeback and we’re going to start seeing more of it.
How is it applied?
With a paint brush. That’s IT. This does make it less efficient to paint large surface areas, but a brush will achieve the traditional look in a way that a roller can’t. Previously painted surfaces will usually require primer but that’s typical for any type of paint. For our fireplace, I was able to apply it directly to the masonry without using a primer. The pigment and stone sediment can separate in the paint container so you’ll want to make sure you mix your paint often. You’ll also want to work with a wet edge meaning you really should paint the entire surface in one session to avoid noticeable “seams”. Lime Wash dries quickly so you can move on to your second coat almost as soon as you’re done with your first. You’ll know it’s ready because it goes on dark and gets significantly lighter once dry.
Is it budget-friendly?
It depends. Lime Wash is a specialty paint so it will definitely cost you more than grabbing a gallon of latex paint from your local hardware shop. On average, it will run you about $100 a gallon. Typically, this would be enough to cover about 200 square feet of drywall, however, masonry is porous and will soak up quite a bit more. Still, this project was significantly cheaper than it would have been to resurface or replace our fireplace so I would definitely recommend it!
I got my paint from Portola Paints (I love their color selection – I used Dry Ground on the fireplace) but you can also check out Pure & Original and JH Wall Paints.
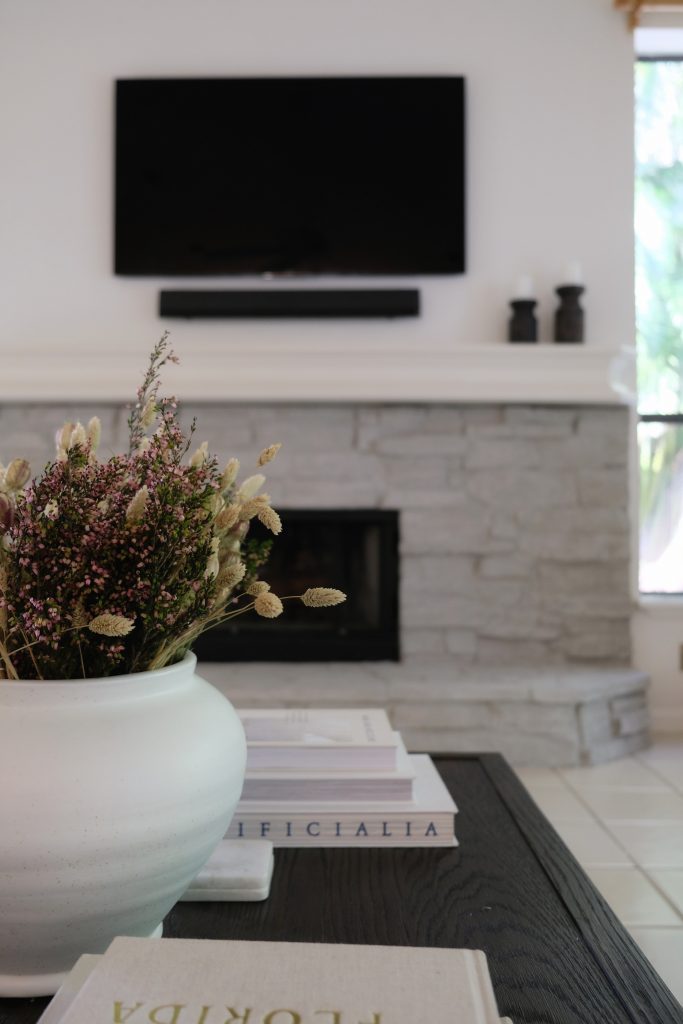
What do you think? Watch a time-lapse of the painting process here and catch all of the daily progress over on Instagram.

Looking for more? Subscribe below for my FREE Guide to Decorating
Related Posts
DIY Faux Stone Pot with Plaster & Lime Wash
Turn an everyday planter in to a faux stone pot using plaster and lime wash…
May 10, 2021© 2020 gold coast canvas. all rights reserved.



Leave A Comment