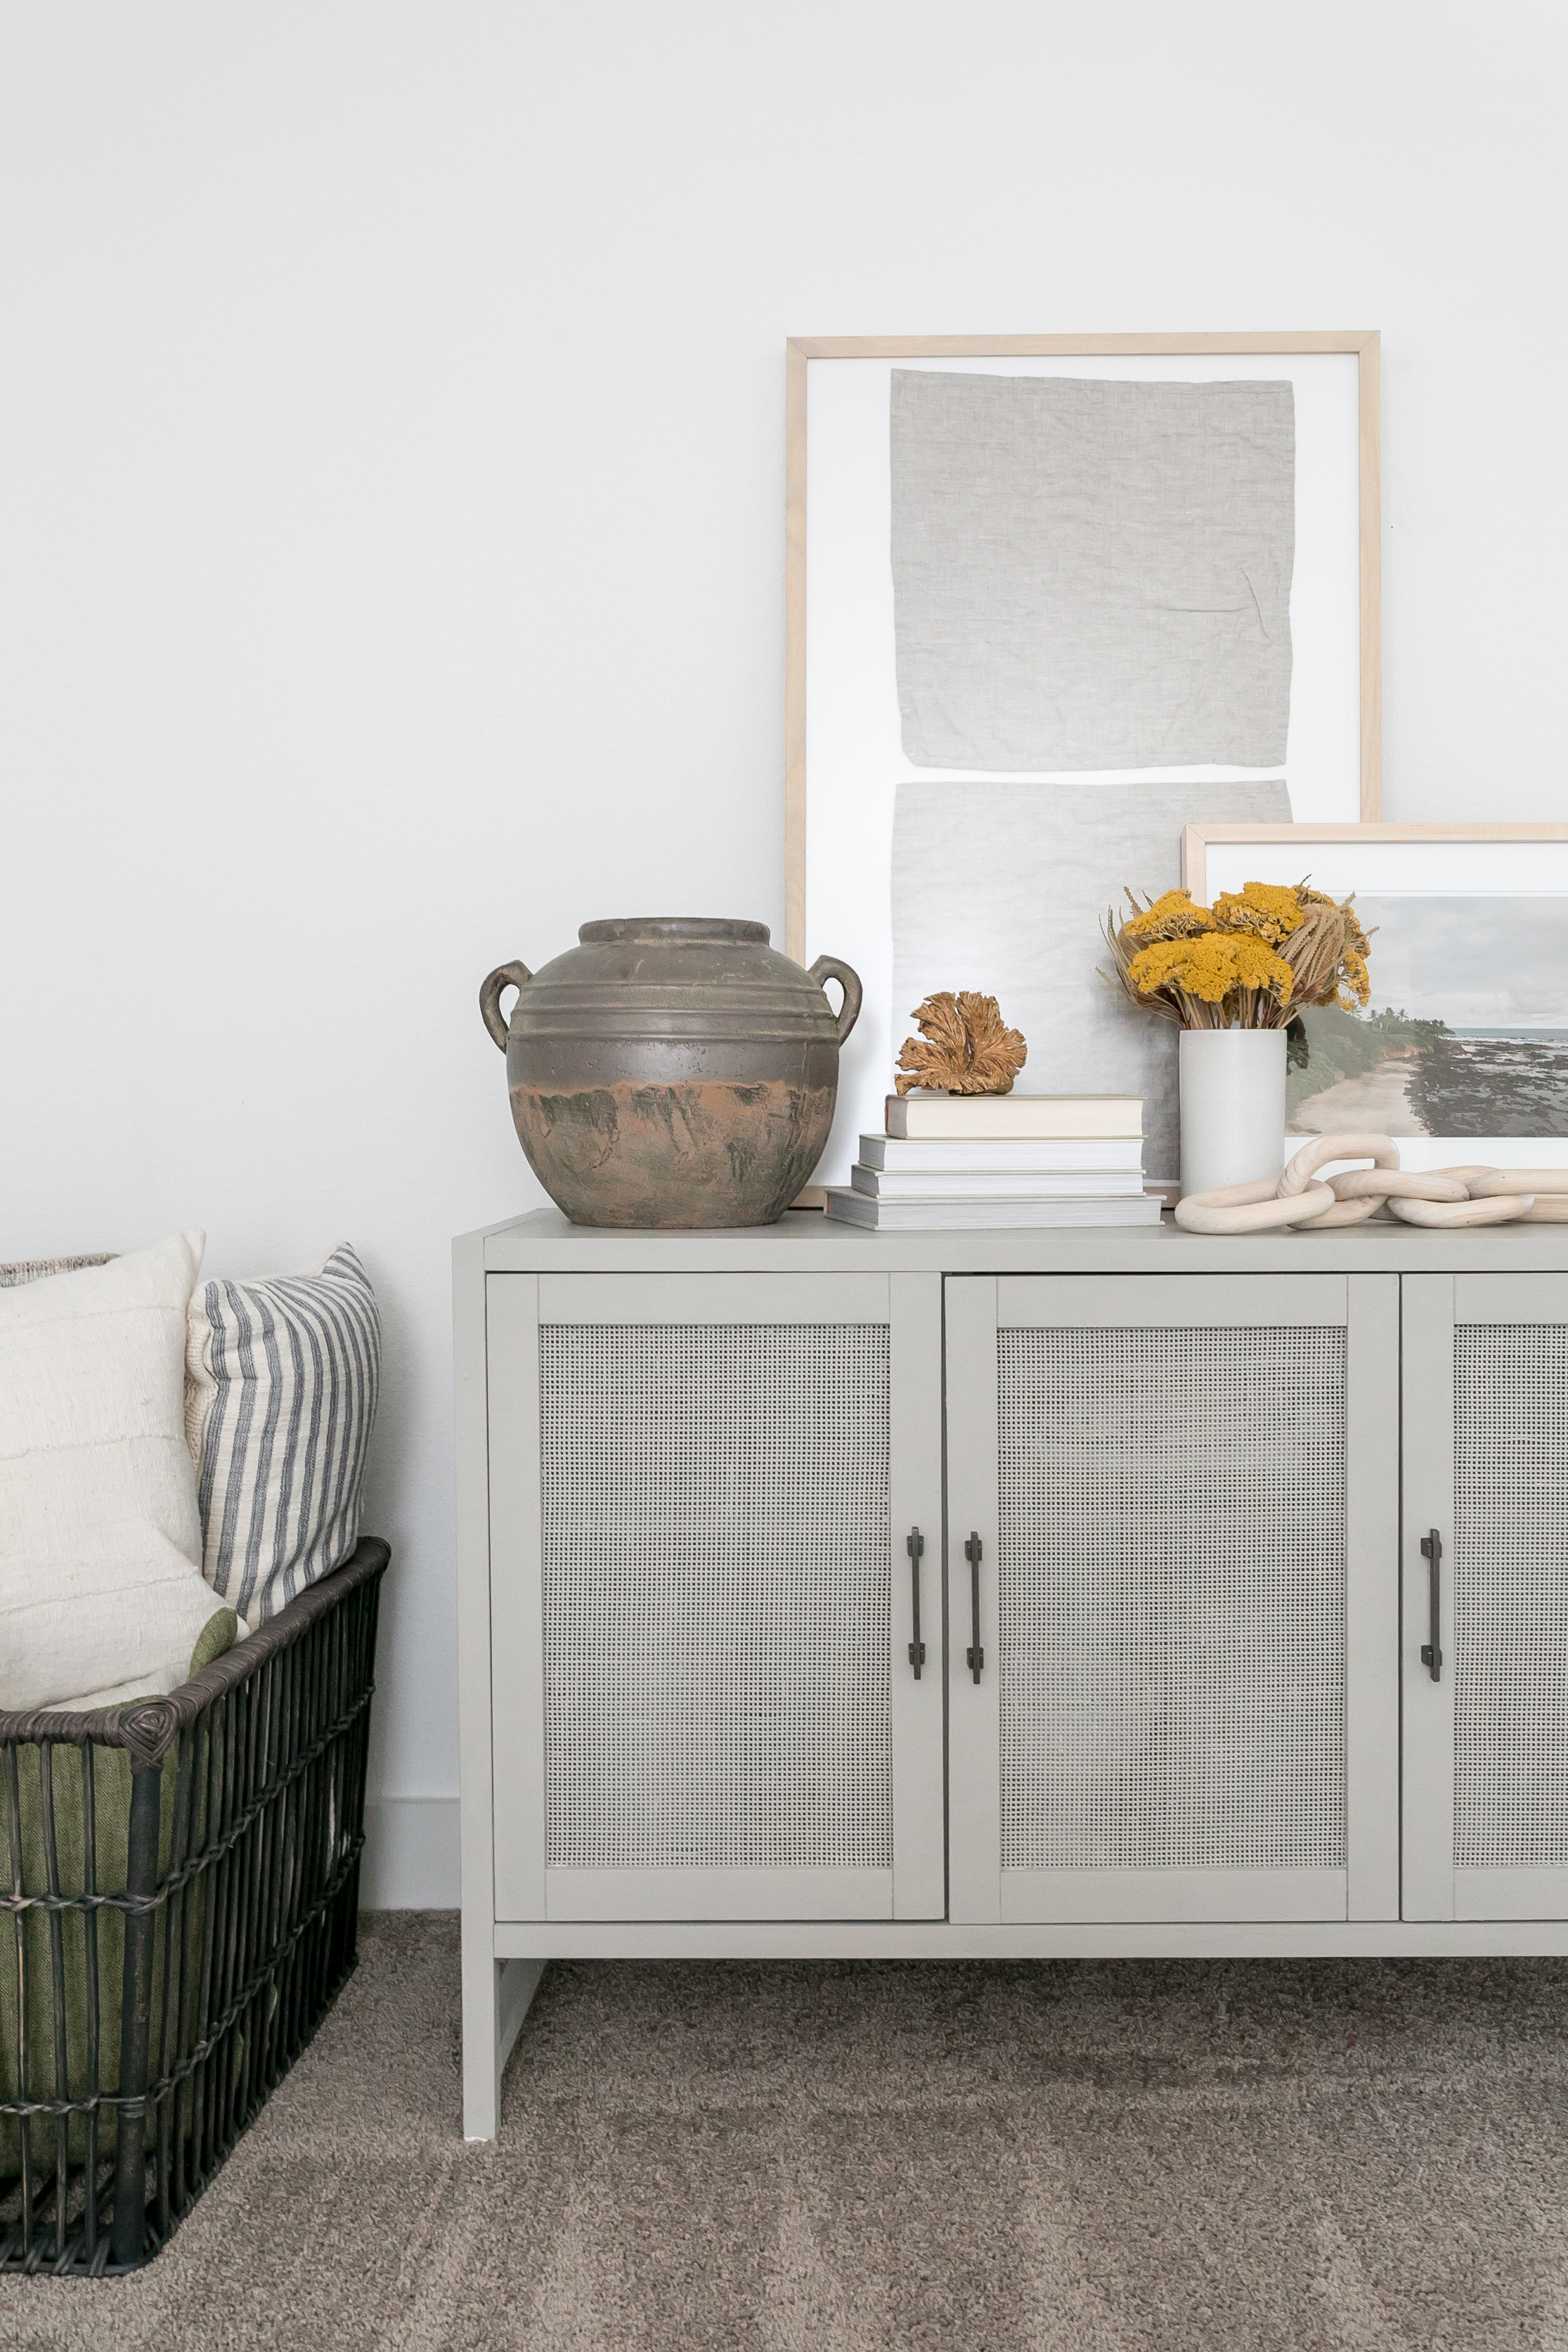
I snagged this already-beautiful console in white during a great sale at Target. I wanted it to feel a bit warmer and more custom and thought I’d try my hand at painting it. It was easier than I thought! Here is my step-by-step guide.

Console & Supplies
I tested several different colors from Behr’s Chalk Paint line and ultimately chose Fossil Grey. Chalk paints typically adhere really well and don’t need primer so this was perfect for my no-fuss DIY.
I purchased two quarts of paint and have plenty leftover for future touch-ups if needed.

Photo by Sarah Natsumi Moore
I purchased a foam roller (cage here, foam here) and some foam brushes in various sizes. I chose foam because I didn’t want any visible brush strokes in the paint.

Photo by Sarah Natsumi Moore
Painting Guide
Next, I laid out all of my console pieces. It comes unassembled which actually makes it much easier to paint. Make sure you have all of the pieces and hardware first, because once you start painting, you can’t return it!

For the rattan doors, you can run your coats with the roller but you’ll want to go back with the paint brush (while it’s still wet) and dab the entire door. This will remove the bubbles that form between the rattan strips and will ensure that you get coverage in all of the little spaces.

I thought about replacing the hardware but really loved the way it looked after I painted the console and decided not to put any more money into this piece.

Sealing Your Console
After the paint dried, I assembled the console. I used the recommended clear wax to seal the furniture and used these lint-free rags to apply two coats. However, in hindsight, I probably would have chosen something more durable like a clear Polycrylic finish as wax often needs to be reapplied and only protects against moderate wear. (Note: I would have chosen Polycrylic vs. the standard Polyurethane finish as I was told Polyurethane would alter the chalk color and yellow further over time.)

Shop Supplies

Shop Decor

There you have it! Send me your questions in the comments below or find me on Instagram – let’s chat!
See more of our home here!

Related Posts
Creating Large Scale Art with Pictureframes.com
We added some quiet drama to our dining room with this large scale art, with…
May 19, 20211 COMMENT
Leave A Comment
This site uses Akismet to reduce spam. Learn how your comment data is processed.
© 2020 gold coast canvas. all rights reserved.


Our Borrowed Bedroom Reveal | gold coast canvas | 9th Sep 20
[…] to them. Then, I look for easy ways to amp up their perceived value – like painting the piece or swapping out […]